Our industry standard test this time was to recreate a treasure chest from a concept using hand-painted textures.
Again we had a polygon limit, and needed to create a diffuse, specular and normal map, however this time had much bigger texture sizes, to really push the detail.
We had 2500 triangles to use, and each texture size was 1024x1024.
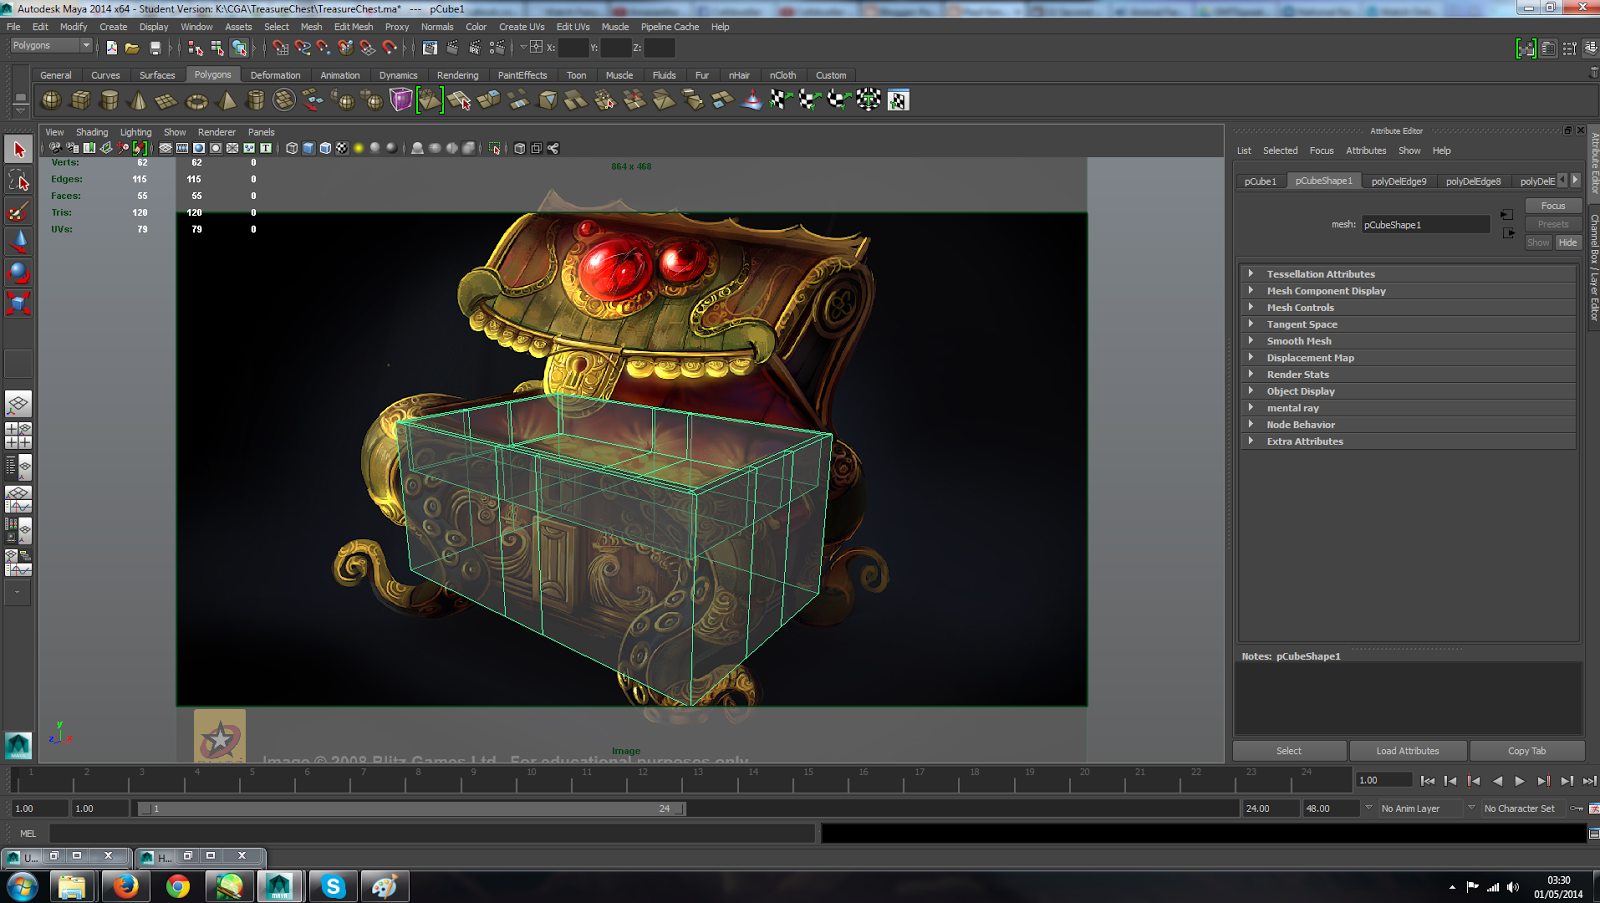
I started off in Maya, I set up a camera in a view in order to model in line with the concept art, as well as using other views of course. However the perspective in the concept art was off so I needed to improvise.
During modelling I detached and re-attached similar parts to save time, and left a few parts as separate objects as attaching them was too difficult for the result.
Once I had laid out my UVs I knew that the textures needed to look hand painted as the did in the concept art, so I used the concept art as a paint stencil in Mudbox in order to paint some of the texture on. Of course this still needed a lot of work in Photoshop, but it gave me a head start. Unfortunately I do not have a screenshot of the Mudbox method, however you can see it in the blog post for the Crab.
I used the concept art and a little painting to create the rest of the textures. This I felt worked very well for the most part.
To create the normal map I then converted the diffuse into a normal using nDo and crazy bump, then used what I thought was the best result (top images). This I feel worked well for it.
For the specular finally I used the diffuse again, but changed values depending on what materials they are on the object.
The result I am happy with, I feel it is one of my best assets so far. I managed to closely match the concept art and create decent maps with the time given and methods I used. The gems could have been better, more obviously hand painted to suit the rest rather than a single colour. I learned a lot of good methods for this to save time and make things easier, it really tested what I had leaned so far.


No comments:
Post a Comment